micro soldering
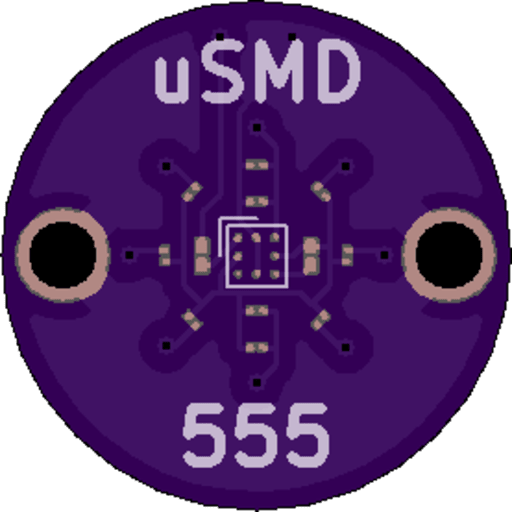
my journy into micro soldering started with watching a video on the AttinyChallengeMisery where you must solder progressively smaller components form 0805(imperial) down to 01005. however i didnt think of trying my hand at anything like that till i saw a video from marco reps soldering another soldering challenge the (uSMD)[https://github.com/arthurbenemann/usmd?tab=readme-ov-file]. this chanllenge envoles soldering:
-
x10 10000PF 008004 capacitors
-
x1 2SMD LED
-
x1 1k 01005 resistor
-
x1 10M 01005 resistor
-
x1 3MHZ 8-USMD 555 timer (BGA)
needless to say that this is not the easiest thing to do. the 008004 capacitors are 0.25×0.125mm. here is an image of one next to a human hair:
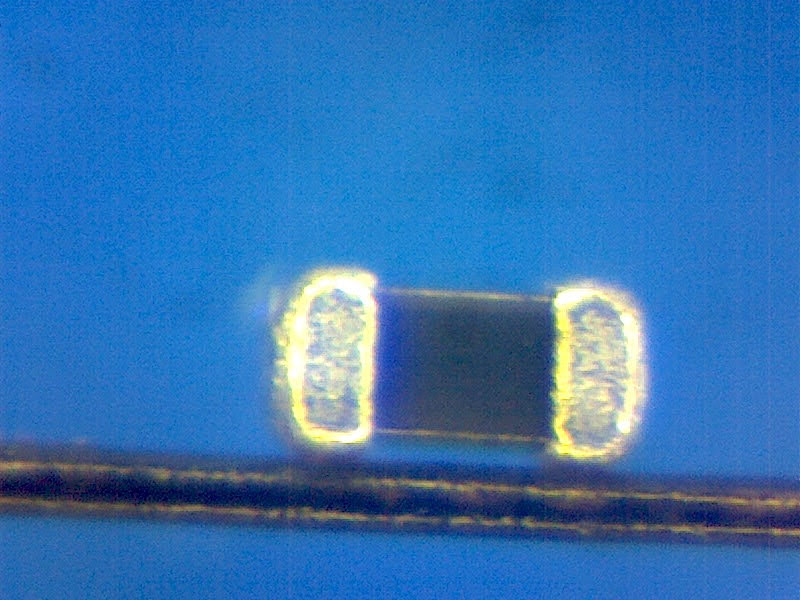
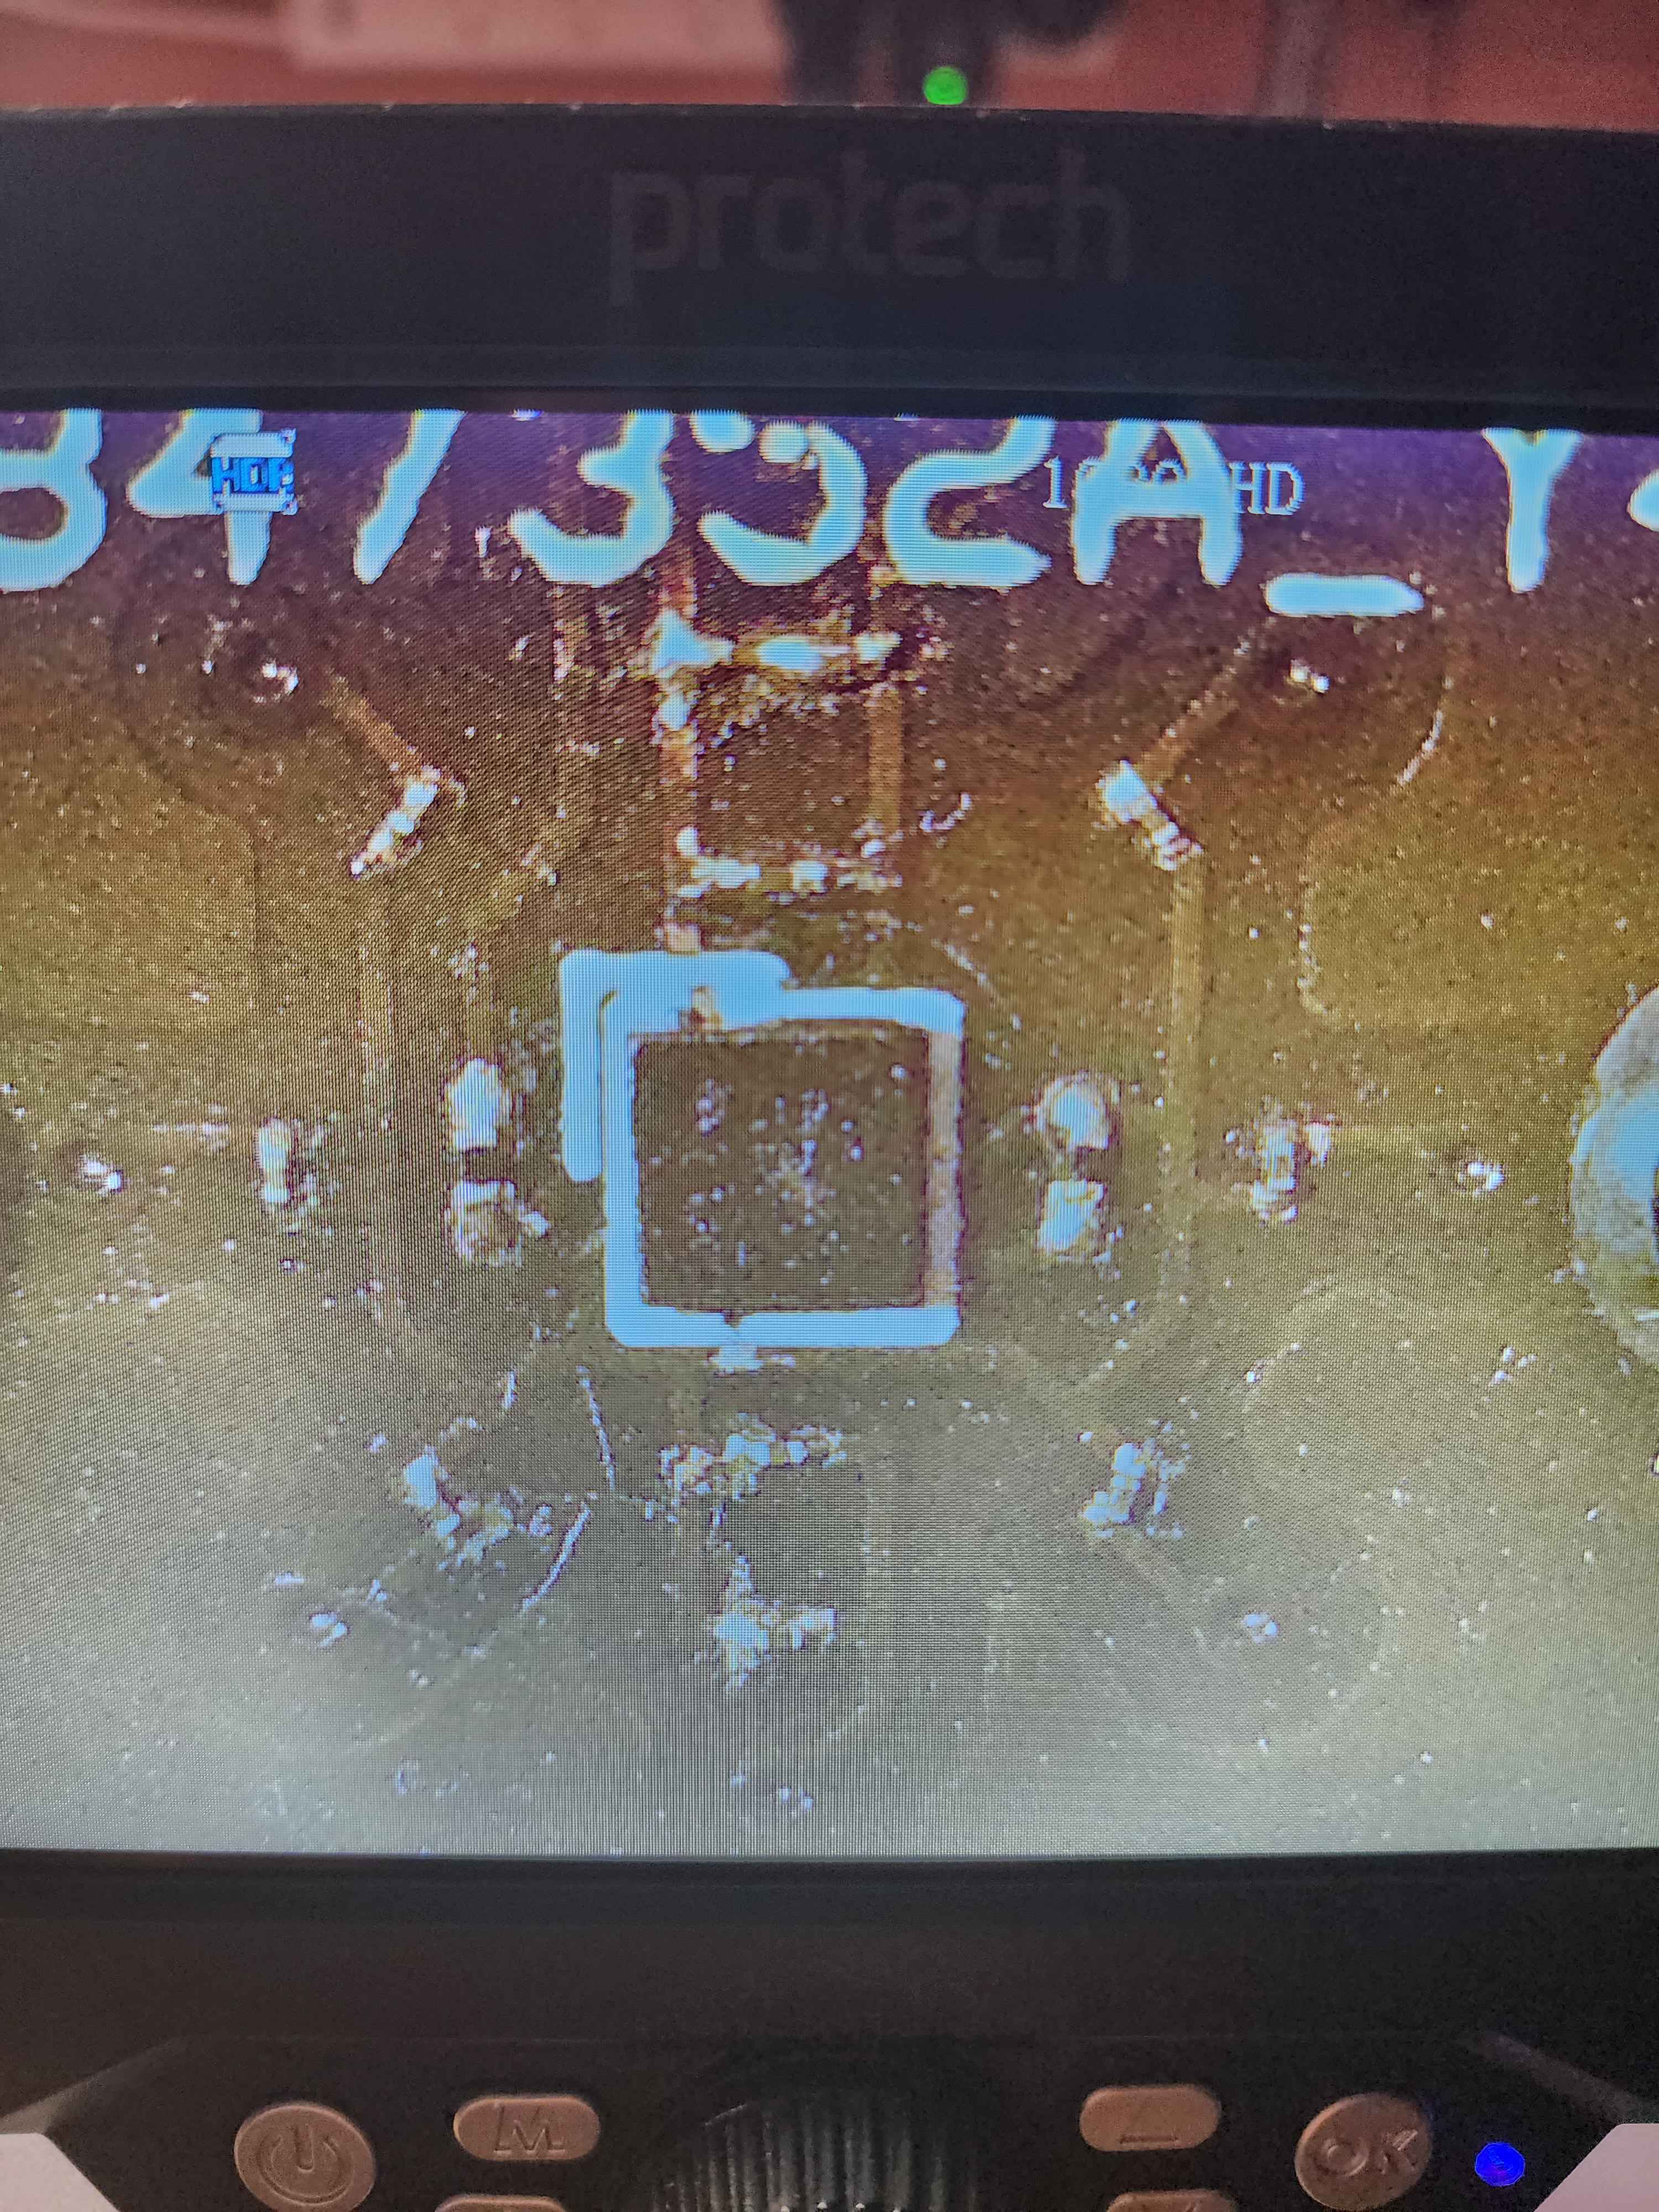
so as you can see (or not in this case) they are incredibly small, and 10 of these have to be soldered. luckily there are only 2 01005 resistor that need soldering, but even those these are larger then the caps they are still tiny as fuck. the LED that needs soldering just like the 555 timer has its pads underneath because they want us to feel pain in this project. lastly the 555 time is in a bare die package which is admittedly quite cool to look at, although there are 8 BGA balls on it so impossible to solder with an iron.
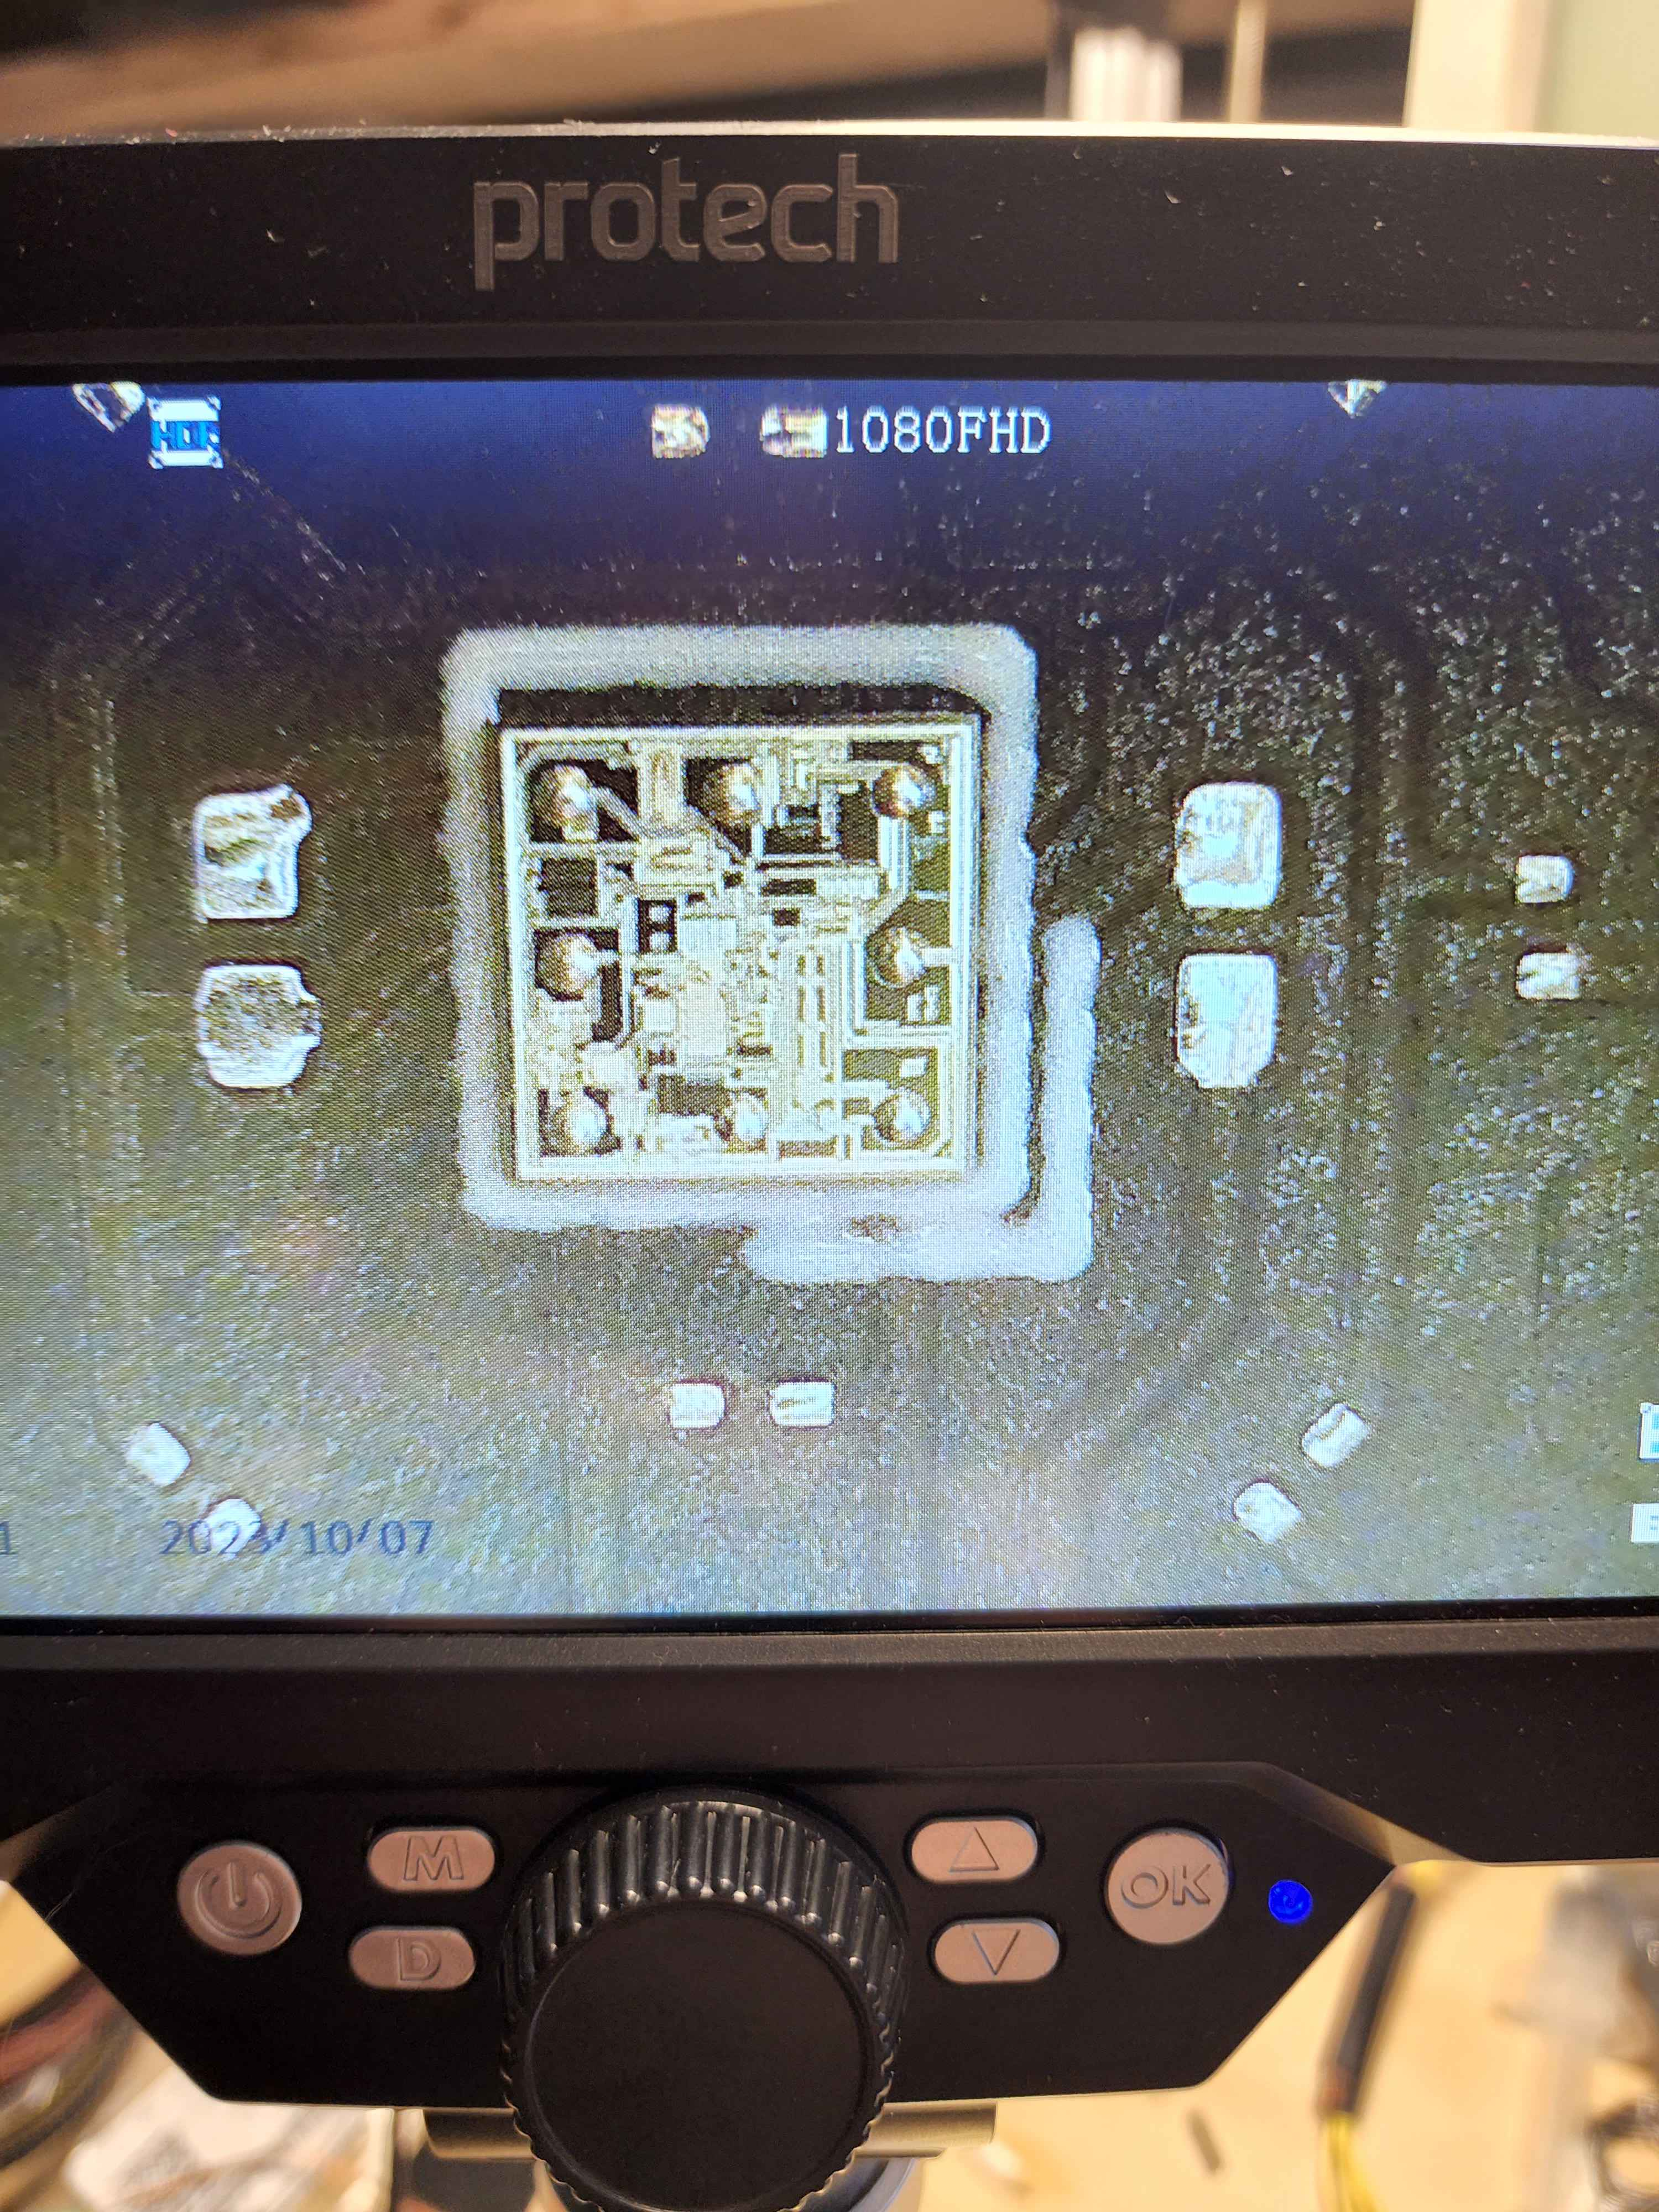 picture of the 555 timer very pretty.
the setup
as you can tell since i have taken on this challenge i am definitely not in the right state of mind.
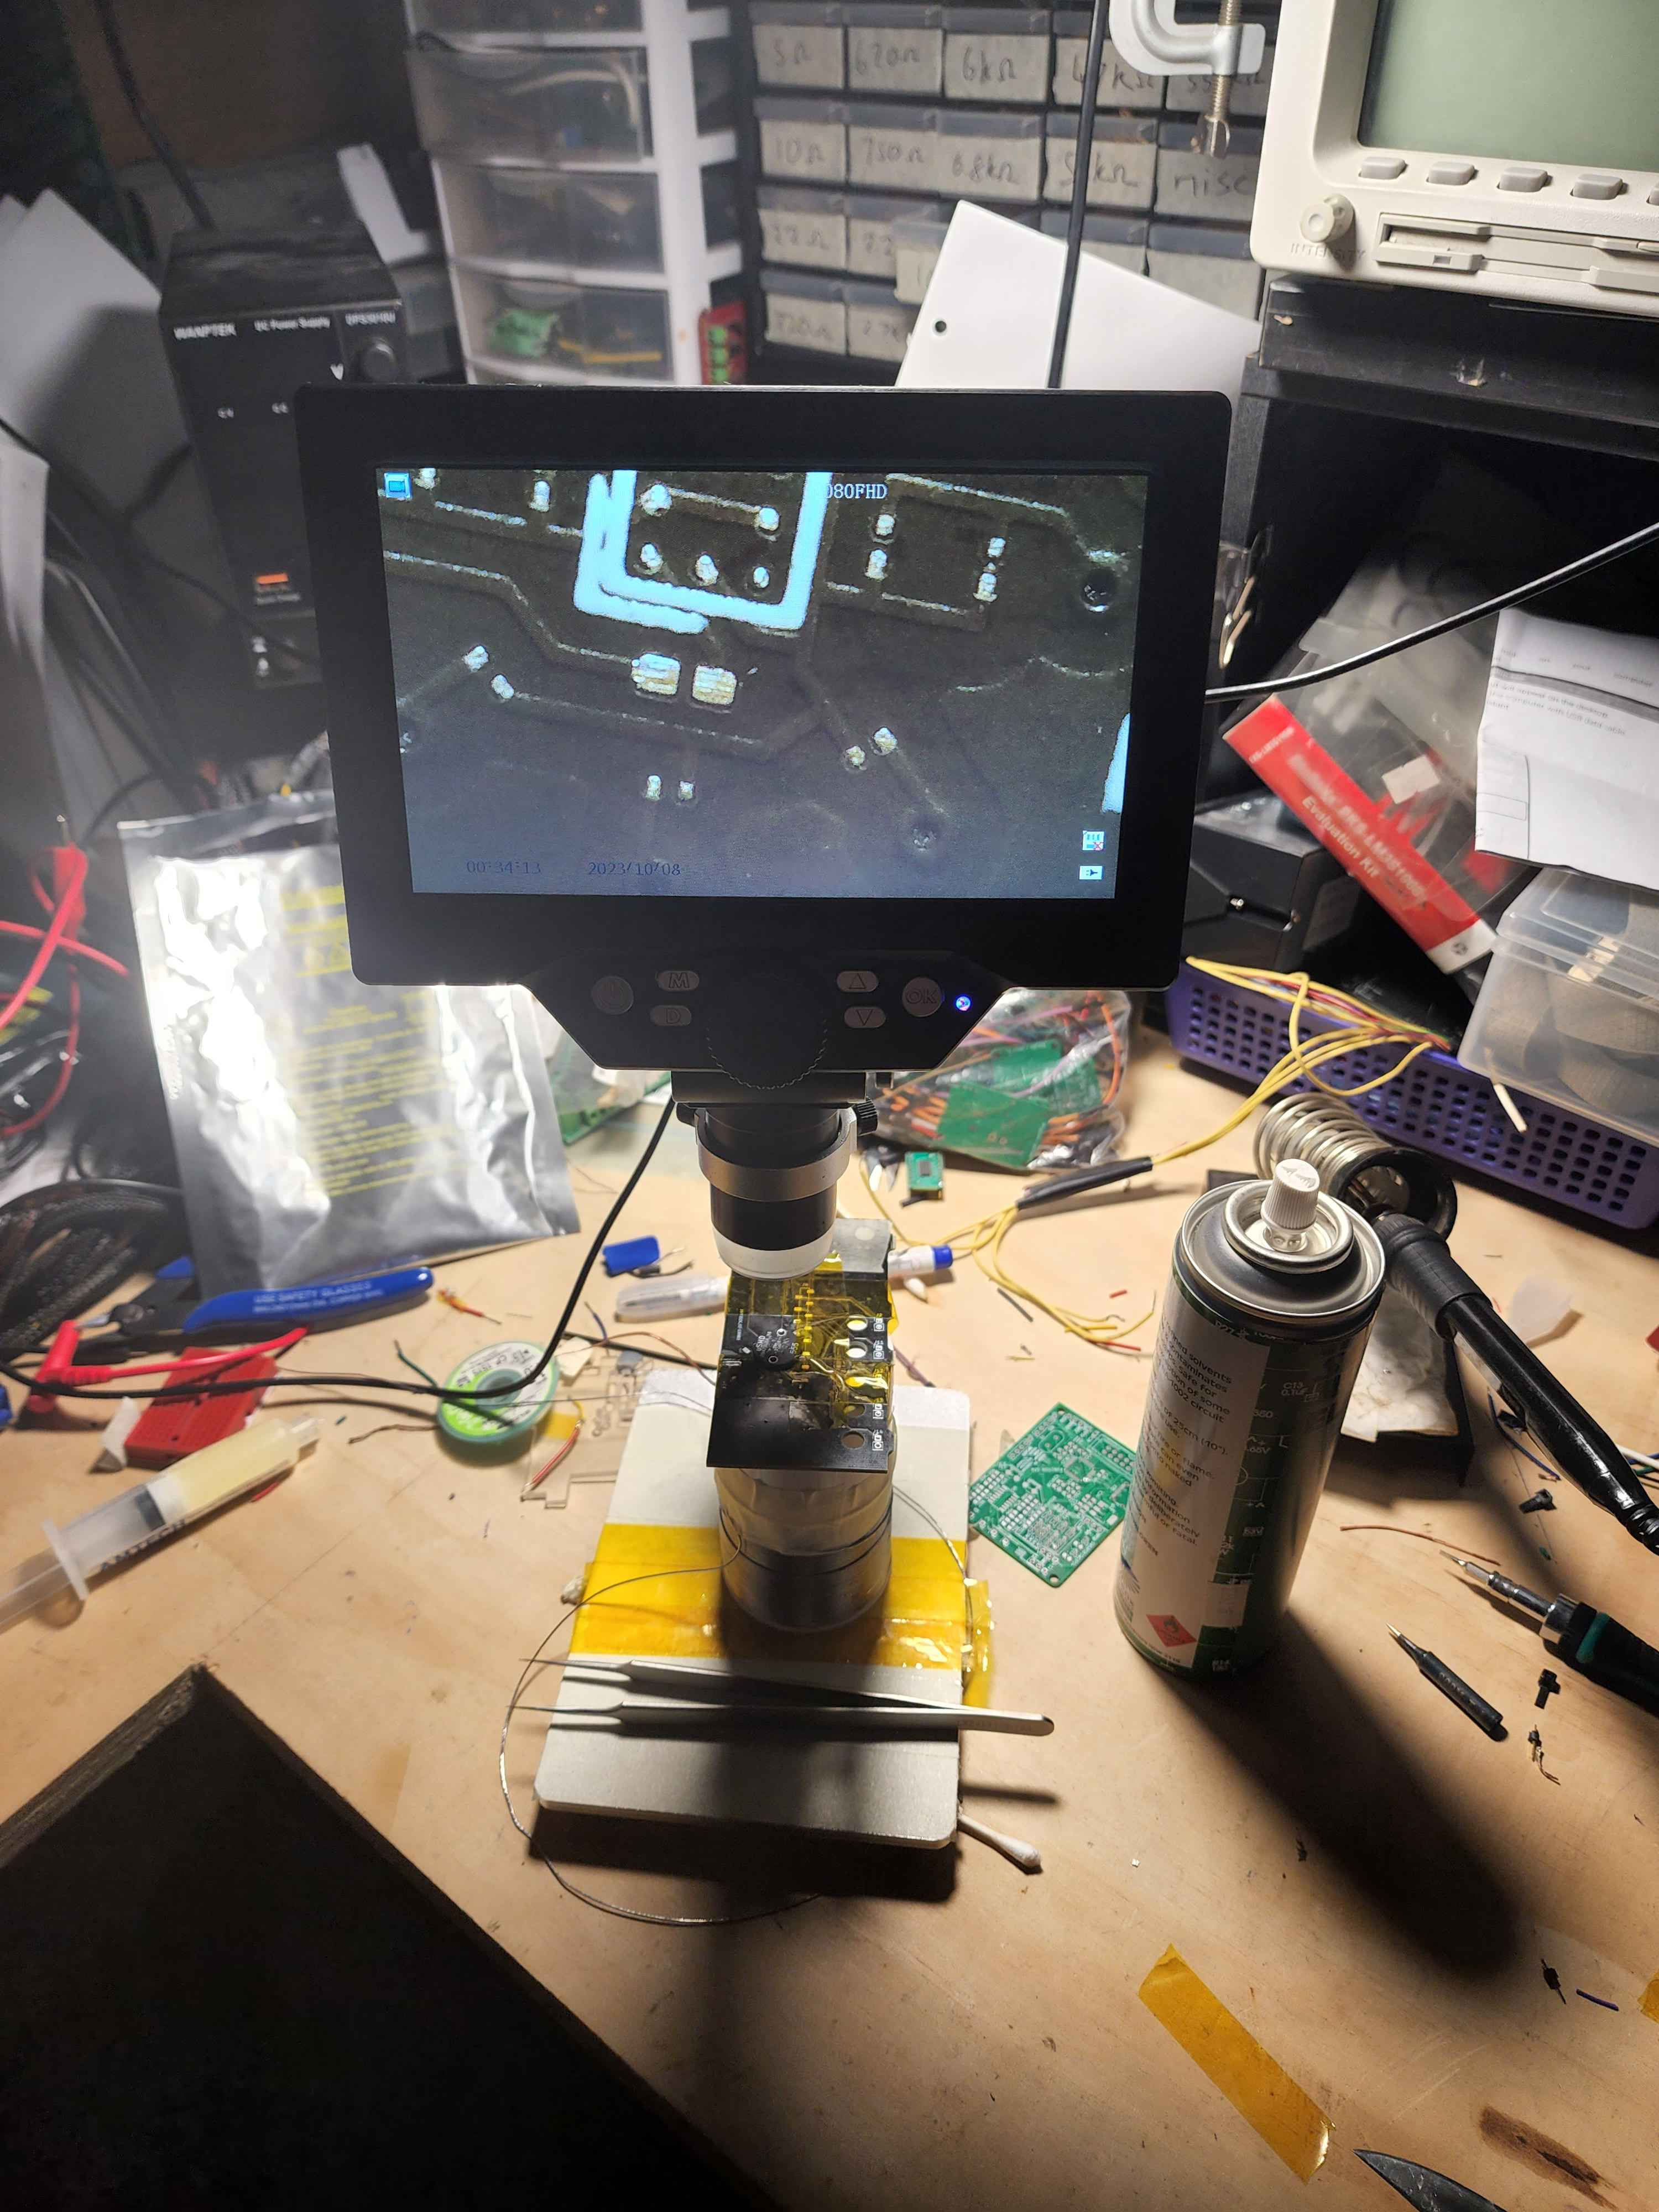
below is an image of the size comparison of the tools i am using. in the top left is the solder roll just underneath that is 1 fork of my tweezers and lastly at the bottom is the tip of my soldering iron. And unlike marco reps in his video where he used brand new JBC soldering equipment i dont have $10k to spend on new equipment, so i bought a $300 dollar microscope form jaycar a brand new set of tip for my $40 indirect heat soldering iron from aliexpress and a $10 set of tweezers form aliexpress. so as you can see only the highest quality of tools.
below is the setup i was working at. it is the roll of solder i was using masking taped the lid of my PCB cleaner can which was then kapton taped to a another pcb and finally the uSMD PCB was bluetacked to the PCB. this set up was done as the PCB had to be very close to the microscope to be able to see anything as well also needing to be that high up in order to not be sitting like a shrimp with my back fully curled up.
the process
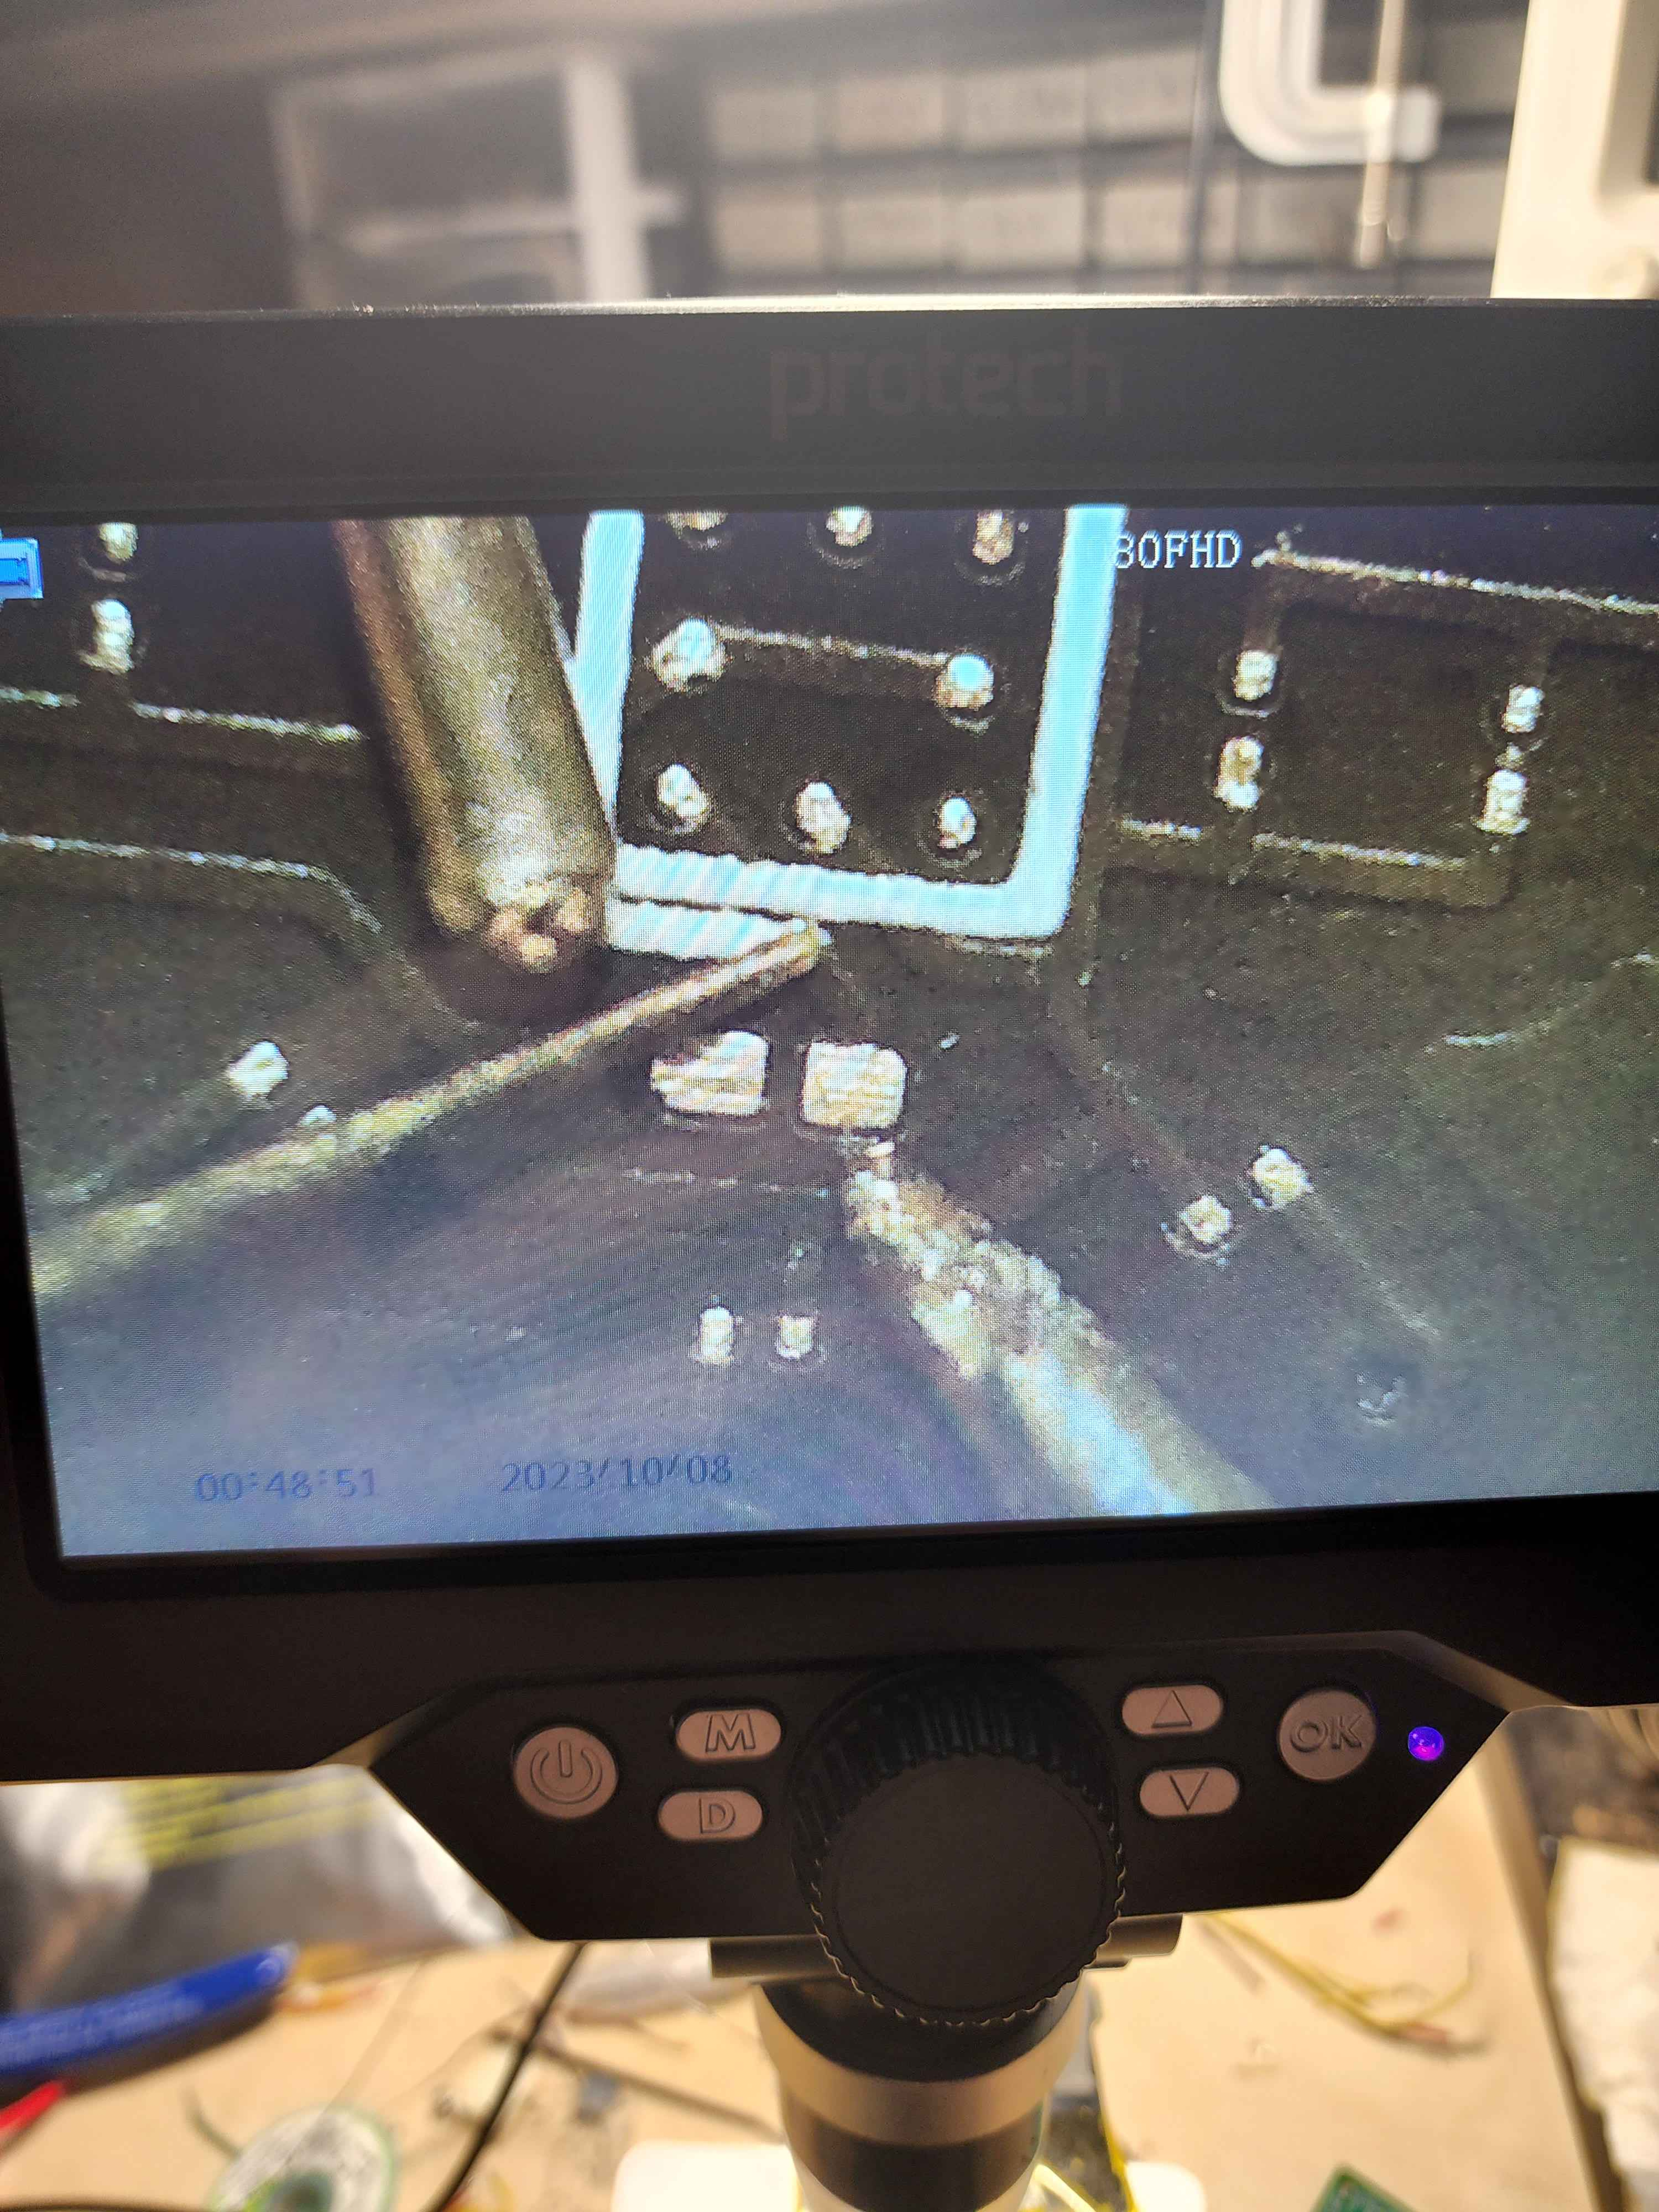
i first started this project by soldering on the 555 timer, and as i dont have an oven or a tip large enough to make a little hot plate, i instead deicide on hot air. so to solder it on i applied a liberal amount of flux to the PCB placed the 555 timer on top, then not holding the 555 timer but pushing down on it with my tweezers and blasting it with hot air. i surprisingly only lost 1 555 timer this way, however this was the easy part. The hard part as expected was the 008004, for these i tinned one pad then did the ungodly sin of painting solder on the other side. i did this painting technique as my soldering iron was not small enough to get right to the pad so my rational was. if i just coating that side in in a molten blob of solder some solder would stick to the pad and the capacitor. for the most part this technique worked although there were some losses, i.e. > 50%. but that was mainly because i couldnt fucking see them when i took them out of the package.
here is the final image of the soldering, that big bridge at the top was from me attempting to coat the board in uv resin to protect it. but after trying it on that capacitor i didnt like how it turned out so i slowly removed it and with removing it i took some of the trace and capacitor with it. so i had to scrape back some of the solder mask and attempt to make a long enough bridge of solder from that to the capacitor.
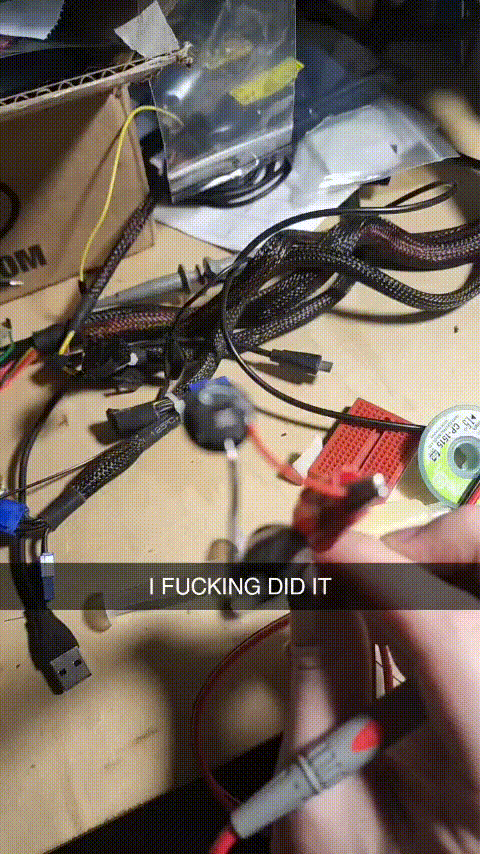
and here is the video of it working, with appropriate language from managing to solder everything correctly.
conclusion
over all i think this challenge is not for everyone but it was a really good test of my steadiness as well a great way to get bragging rights over your friends.